Low water pressure in the kitchen sink can be a frustrating and inconvenient problem for homeowners. Fortunately, there are several steps that you can take to solve this issue and improve the water pressure in your kitchen sink. In this step-by-step guide, we will discuss some common causes of low water pressure in the kitchen sink and provide practical solutions to help you resolve the issue. If you know more about Faucets Parts. then you can be solved easily. There are 5 steps as following:
1. Determining the Source of the Problem for Low Water Pressure in the Kitchen Sink
1.1. Observing the symptoms of low water pressure
The first step in determining the source of low water pressure is to observe the symptoms.
Some common symptoms include weak water flow from the faucet, a decrease in water pressure over time, and sudden changes in water pressure.
1.2. Checking water pressure in other areas of the home
Once the symptoms have been noted, it’s important to check the water pressure in other areas of the home.
This will help to determine if the low water pressure is only affecting the kitchen, or if it is a problem with the entire home.
1.3. Inspecting the kitchen plumbing system
If the low water pressure is only affecting the kitchen, the next step is to inspect the kitchen plumbing system.
Look for any signs of visible damage, such as cracks or leaks in the pipes, and check for any obstructions, such as mineral buildup.
1.4. Testing the water pressure
To get a more accurate reading of the water pressure, use a water pressure gauge to test the pressure at the kitchen faucet.
The water pressure gauge can be purchased at most hardware stores.
2. Checking the Aerator if this causes Low Water Pressure in the Kitchen Sink
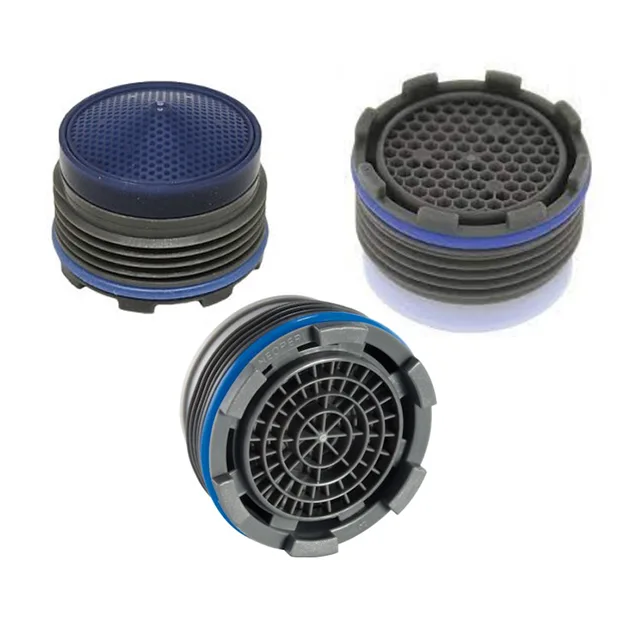
2.1. Locating the aerator
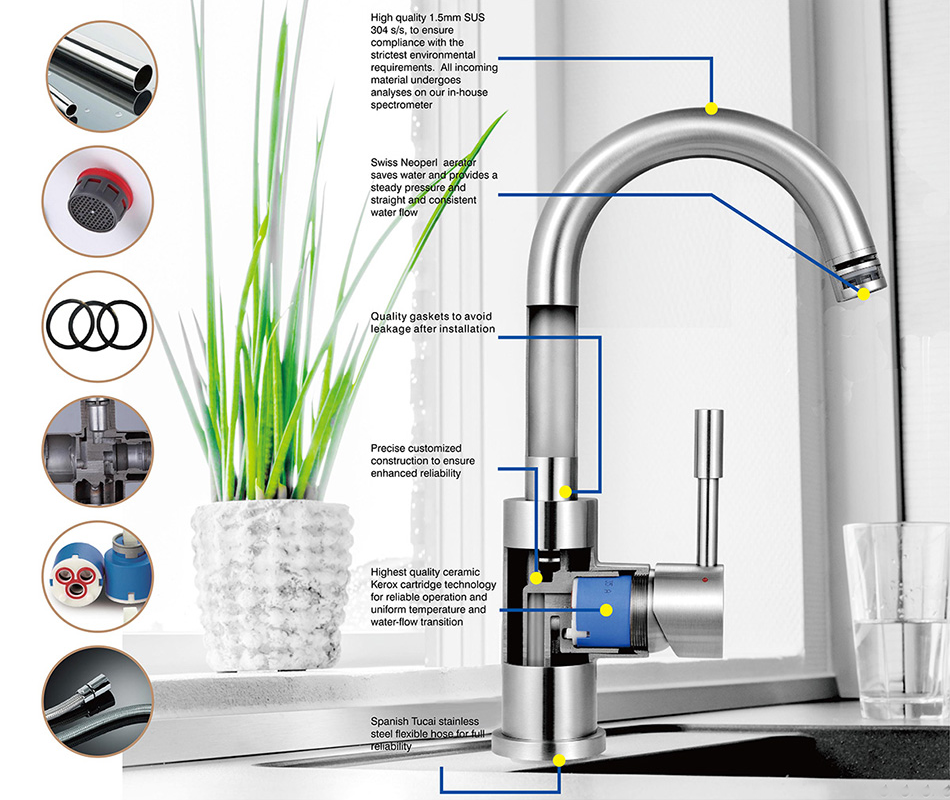
The aerator is a small mesh screen located at the end of the kitchen faucet.
It can be easily removed by unscrewing it from the faucet.
2.2. Inspecting the aerator for debris
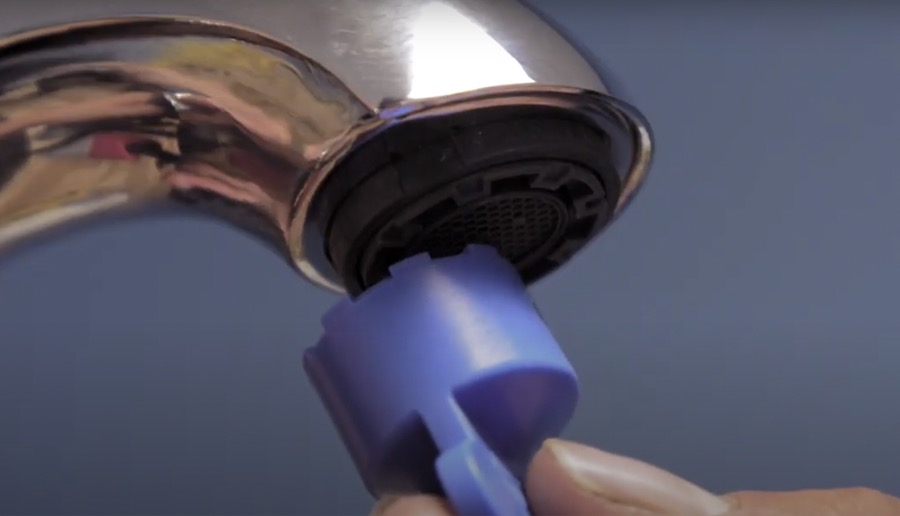
Once the aerator has been removed, inspect it for any debris, such as mineral buildup or debris from the water supply.
If the aerator is clean, move on to the next step.
2.3. Cleaning the aerator
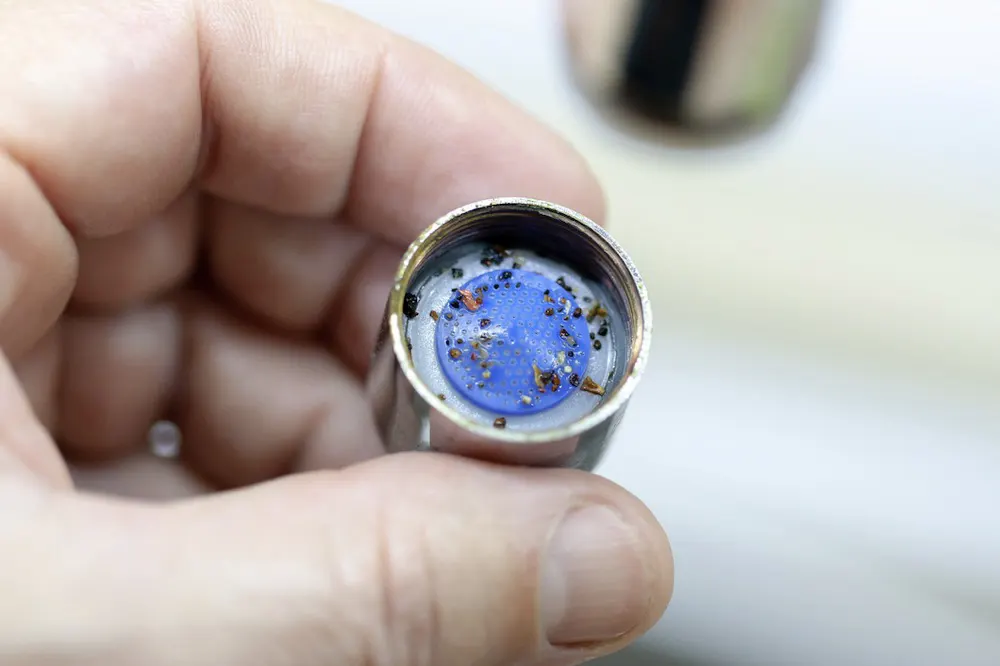
If the aerator is dirty, it can be cleaned by rinsing it with water.
If the buildup is heavy, it can be soaked in vinegar for a few hours to remove the buildup.
After cleaning, reattach the aerator to the faucet.
2.4. Testing the water pressure
After the aerator has been cleaned or reattached, test the water pressure again to see if it has improved.
If the water pressure is still low, move on to the next step.
3. Checking the Cartridge Valves
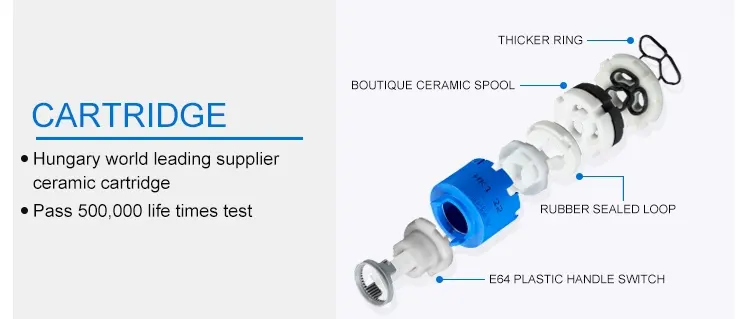
3.1. Locating the Cartridge Valves
The shutoff valves are located under the kitchen sink and are used to turn off the water supply to the kitchen.
They are typically located on the incoming water supply lines.
3.2. Testing the Cartridge Valves
To test the shutoff valves, turn off the water supply by closing the valves.
Then, turn on the kitchen faucet to see if the water flow has stopped completely.
3.3. Checking for leaks or damage
If the water flow has stopped, inspect the valves for any signs of damage or leaks.
Check for any signs of corrosion, cracking, or leaking at the valve or in the pipes.
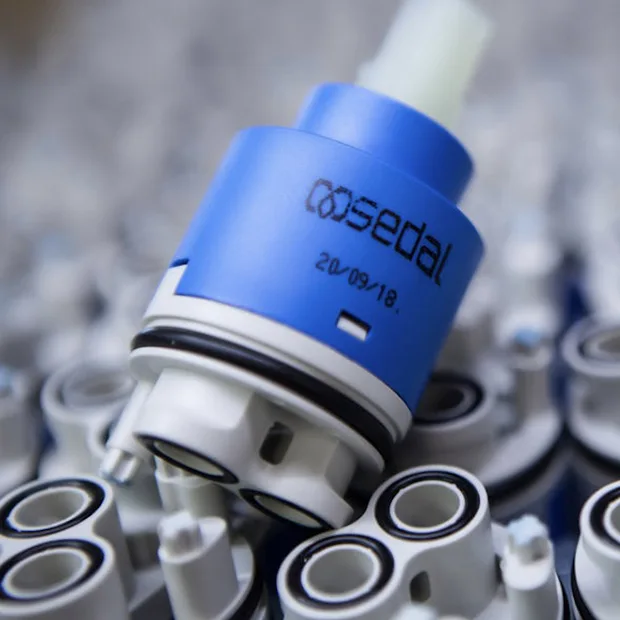
3.4. Replacing damaged Cartridge valves
If the valves are damaged or leaking, they should be replaced.
This is a simple repair that can be done by turning off the water supply, removing the old valves, and installing new ones.
3.5. Testing the water pressure again
After the shutoff valves have been checked and repaired if necessary, test the water pressure again to see if it has improved.
If the water pressure is still low, it may be necessary to call a plumber for further diagnosis.
By following these steps, you should be able to determine if the shutoff valves are the source of low water pressure in the kitchen, and resolve the issue if they are. If the water pressure is still low after checking the shutoff valves, it is time to call a plumber for further diagnosis.
4. Checking for Leaks
4.1. Main water supply pressure
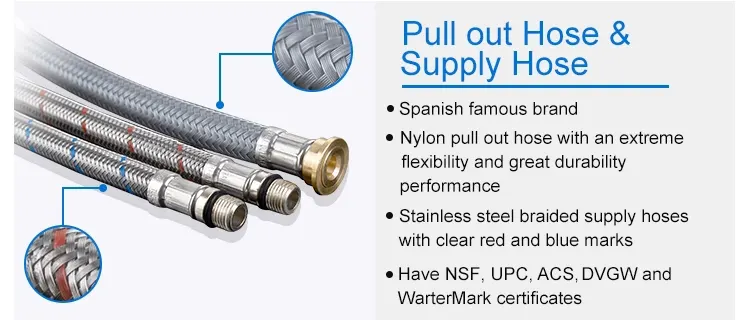
If the low water pressure is affecting the entire house, not just the kitchen, it may be due to low pressure in the main water supply.
This could be due to a problem with the municipal water supply or a problem with the main water supply valve.
4.2. Clogged pipes
If the low water pressure is specific to the kitchen, it may be due to clogged pipes.
This can occur due to mineral buildup, rust, or other debris in the pipes.
4.3. Leaks in the pipes
Leaks in the pipes can also reduce water pressure.
Check under the sink and around the kitchen for any signs of water damage or leaks.
4.4. Worn-out or faulty water pump
If the water pressure is low only when using hot water, it may be due to a worn out or faulty water pump.
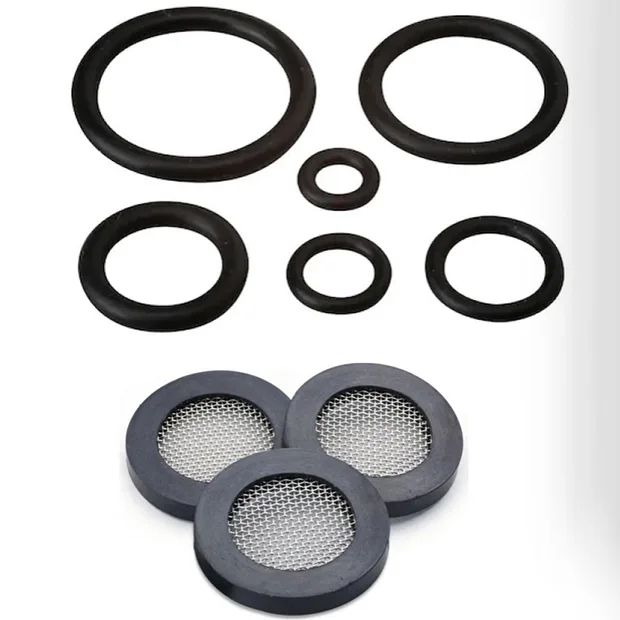
4.5. Check the Ring Seal Gasket
The water pump is responsible for pressurizing the hot water supply, and if it is not working properly, the water pressure may be low.
If This Ring Seal Gasket is broken, that will be water leakage. so it is important for this parts checking.
4.6. Call a plumber
If the low water pressure cannot be resolved by checking the aerator, shutoff valves, and pipes, it may be time to call a plumber for further diagnosis.
A plumber will be able to diagnose and resolve any underlying problems with the plumbing system.
5.Checking the Main Water Supply
5.1. Regular cleaning of aerators and filters
To maintain proper water pressure, it is important to regularly clean the aerators and filters.
Aerators and filters can become clogged over time, reducing water flow and pressure.
Cleaning or replacing aerators and filters can help ensure proper water flow and pressure.
5.2. Regular maintenance of Cartridge Valves
It is also important to regularly check and maintain the shutoff valves.
This includes checking for leaks or damage and replacing damaged valves if necessary.
Regular maintenance of shutoff valves can help prevent low water pressure in the kitchen.
5.3. Regular inspections for leaks
Regular inspections for leaks in the pipes and around the kitchen can also help maintain proper water pressure.
Any leaks should be repaired promptly to prevent further water damage and to maintain proper water pressure.
5.4. Water pressure-reducing valve
If the water pressure in the main supply is too high, a water pressure-reducing valve can be installed to regulate the pressure.
This can help prevent damage to the plumbing system and help maintain proper water pressure in the kitchen.
5.5. Professional maintenance
Regular professional maintenance of the plumbing system can help ensure proper water pressure in the kitchen.
A plumber can inspect the plumbing system for any potential problems, and make repairs or recommendations for improvements as necessary.Conclusion:
By following these simple steps, low water pressure in the kitchen can be easily diagnosed and fixed.
If you are unsure about any part of the process, consult with a professional plumber for assistance.


